How To Jump On A Mountain Bike
/ Tips / How To Jump On A Mountain Bike
As a beginner, you might envy some of the top riders as they make some ridiculous jumps over obstacles. Many of the top riders have a tendency to make it look very easy, but in reality, it can be hard if you don’t know how to jump on a mountain bike correctly. Fortunately, it is a skill that almost anyone can learn.
Since most beginners tend to start with trails, it is important that riders understand some of the basics that go into jumping on a mountain bike. The following article will give you a clear look at what you need to do in terms of control and landing. We have identified a couple of important tips to help you jump trail obstacles on your mountain bike.
Mountain Bike Jump Basics
Before you consider the actual jump, there are a few things that every rider needs to consider to make sure the jump is successful. The following basics are only a few of the most important things that even the experts do well. These basics are mostly directed to ensuring safety and help with precision in each jump.

Ensure The Bike Is In Optimal Condition
Jumping with a mountain bike is one of the most dangerous things that anyone can do. However, the bike needs to maintain balance and absorb the impact as effectively as possible. It is important that riders ensure the bike is in the optimal condition before attempting to make a jump. This is also important when riding hilly routes.
If you are not sure that your bike is in the optimal condition, you should consult an expert or consider visiting your local bike shop.
Buy The Right Bike
Most bikes are ideal for jumping, but since mountain bikes are broken up into two distinct types, it is better if you consider the full-suspension mountain bike like the Diamondback Release 27.5 when making all of your jumps. The hardtail bikes will absorb some of the shocks, but it could still put a lot of strain on the rear of the frame, which could be painful.
The full-suspension mountain bike is fitted with a rear suspension that will ensure the landing is smooth and the bike absorbs most of the shock. However, you need to ensure that the shocks are well-oiled and smooth.
Protective Gear
Jumping can be risky and it’s always recommended to have the right safety gear. A full face helmet like the Bell Super 3R MIPS helmet would be a good choice for jumping.
Double Check Your Brakes
Since jumping in the air will often happen between ramps, you have a large chance that you might land on a downhill slope. Most obstacles have a downhill section that will enable you to gain a forward motion. If you lose control of the steering, the brakes will be the only thing that keeps you from crashing into trees or other obstacles.
Ensure You Are Comfortable
Before we move on to some of the more advanced tips, every rider needs to ensure that they are comfortable riding their bike. You should understand your bike and get used to all of the nooks and crannies that make your bike unique. The more comfortable you are with your bike, the easier each jump will be.

How To Jump A Mountain Bike In 6 Simple Steps
Once you are comfortable that all of the basics have been checked, you can proceed to the second stage, which is the actual jump. If you have been practicing, you should have a decent idea of how the jump works and what you need to focus on. However, here is a solid guide to allow you to make more jumps successfully:
1. Find The Right Jump
In the world of cycling, almost everything is ranked and coded in terms of difficulty. If you want to start your jumps, it is much better to find an easier trail with shorter jumps. However, more advanced riders can take on higher and more difficult jumps. The harder a jump, the more speed and confidence you will need to successfully complete it.
2. Examine The Jump
While you don’t need to be an engineer or break out the math book, it is important that you consider the various aspects of the jump. Things like the run-in and the landing spot can often be tricky to navigate for beginners. You should make sure that the jump has a safe landing spot and run out when you have landed.
Oftentimes, it can be helpful to consider talking to some of the experts around the track to give you some advice on your jumps.

3. Starting Your Jump
After making all of the calculations, you should be set to take on the jump. You will need to ensure you reach optimal speed and that you treat each tire differently on the jump. Once you feel the track forming an incline, it is best to rock your body forward and put a lot of weight on the front of the bike. Now, you have more pressure and forward motion when you try to reach optimal speed.
The rear will follow as you increase the pedaling speed, but keep in mind that the rear tire should be kept firmly on the ground with enough weight.
4. Taking Off
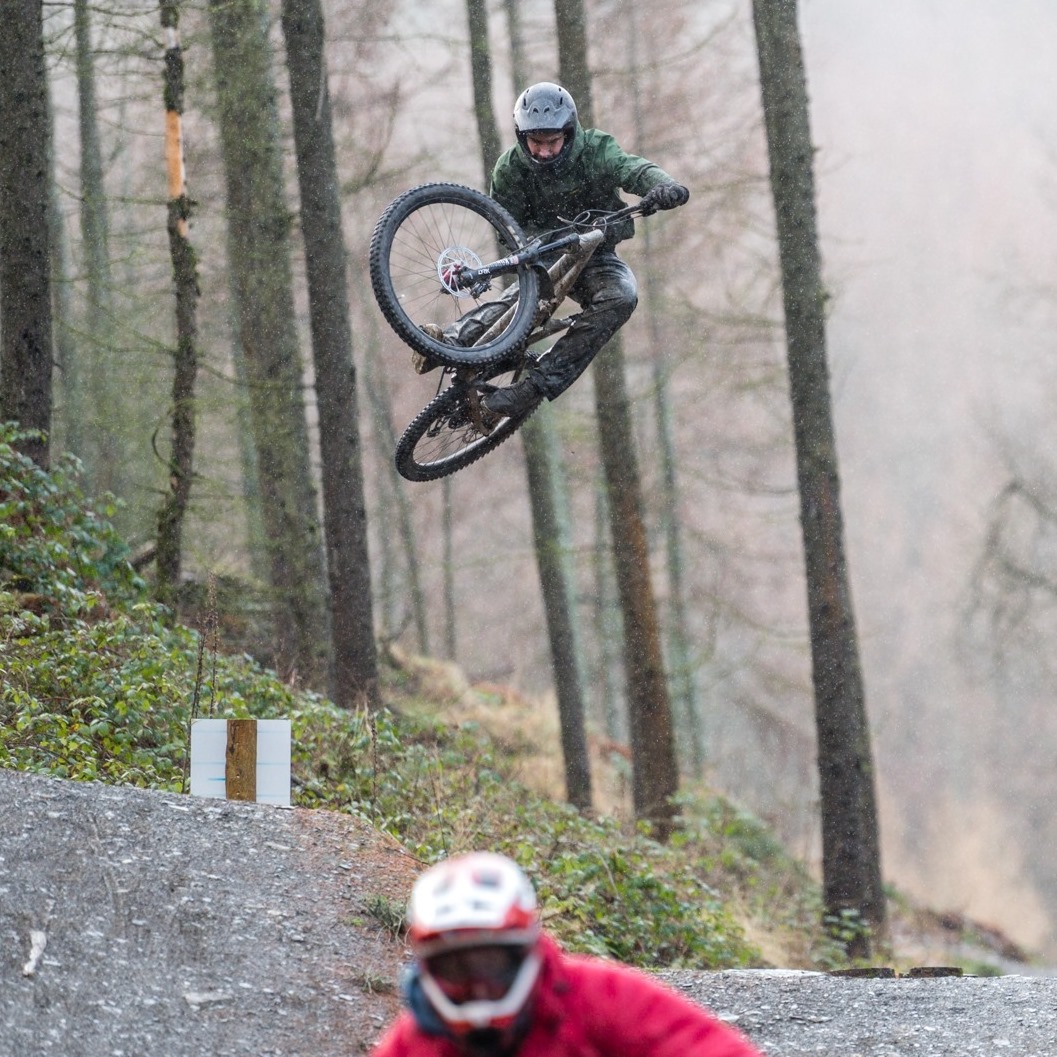
The next part is actually taking to the air with your jump. You will slowly begin to release pressure on the front wheel as it lifts off the ground while keeping pressure on the back. Once the back wheel reaches lift-off, you will slowly begin to shift some of your weight back to the front tire. However, mid-jump, one can also lean back, which is why you need to look carefully at the landing zone.
Since the rear of a full-suspension bike is made to take more punishment, it is often best to land on the rear tire. While in the air, you will be focusing on which tire you want to land on, but this should have been decided on before the jump was made. As you become more accustomed to jumps, you can make split-second decisions.
Additionally, you can also imagine a line halfway up the climb, which is the specific area when you will shift your weight from your hands down to your feet. However, you need to remain as balanced as possible when in the air to ensure you don’t tip the bike. Refrain from using the brakes too much to avoid tips.
5. Landing Safely
One of the most important parts of cycling is to master the landing. The landing is probably the most dangerous part of the jump and it could lead to serious injury when it is not done with precision. As you touch down, you will need to shift your weight to the tire that will be absorbing most of the pressure or impact.
However, the shocks alone are not responsible for doing all the work to reduce the impact. Your arms and legs need to aid the bike in absorbing some of the impacts to help you maintain control. Riding with stiff arms could let you lose control or the bike could slip out of your grasp.
If you land on the front tire, your arms will do the most of the impact absorbing. However, your legs will do this when you are landing on the rear of the tire. It is important to balance this out to ensure that you are comfortable landing with your entire body.

6. After The Jump
Now that you have completed the jump, you need to focus on pedaling again. Performing a dead stop once the bike has forward motion could lead to it tipping. You should focus on maintaining as much speed through the first few meters.It should in theory make the landing smoother. This is also why beginners should not perform landings that are tight to corners.
On hills, it could be a bit more tricky since you will want to keep your force of gravity as low as possible. When riding over hilly terrains, most of the impact is often absorbed through the legs to ensure the rear tire constantly touches the ground. You should keep in mind that a bike is powered with the rear wheel. Here are a few more tips to ensure a safe hilly ride.
Final Thoughts
In wrapping up the article, you will find that anyone can actually jump with a mountain bike. Yes, you will need a bit of practice to ensure you understand the basics. However, the above-mentioned guide on how to jump a mountain bike should give you a lot of tips.
Be safe out there and ride on!
Below is a Pinterest friendly photo… so you can pin it to your Mountain Bike Board!

Related Articles
What Does Travel Mean On A Mountain Bike?
Oli L • March 22, 2022
When you start mountain biking you will hear the term "travel" quite a bit. But what the heck is travel and what does it have to do with mountain biking? "Hey, dude, how much travel do you have on your front fork". This is something you will hear often and it's referring to how much suspension you have on your bike. Travel on a mountain bike is the distance you...
What Is A Mountain Bike Dropout?
Oli L • March 1, 2022
The Mountain bike dropout is not a topic of most conversations when it comes to mountain biking. These components are located on the fork-end and features a section in the frame or the fork, where the wheel can quickly be loosened and removed in the need of a wheel change. In more technical terms, it refers to a slot located in the rear axle of the mountain bike, that allows...
How to Manual on a Mountain Bike
Oli L • November 9, 2021
When you're cruising on a mountain bike or pacing through a trail, you face different problems. One such problem is the obstacles that you face while conquering trails. To overcome these obstacles, there's a popular skill that is known as a manual. With a manual, you can pass over these obstacles in style and comfort. And like every skill, this mountain biking skill requires practice. Because without practice, even if...
How To Clean Disc Brakes on A Mountain Bike
Oli L • October 21, 2021
Want to learn how to clean disc brakes on a mountain bike? Here you’ll find out what you can use to clean your mountain bike disc brakes, how to detach the disc brakes and their entire cleaning in your garage. Mountain Bike Disc Brake Cleaning Overview You can clean your mountain bike disc brakes after removing your wheels, wiping those brakes with brake cleaner and a clean rag. You can...
Hydraulic Disc Brakes Vs. Mechanical Disc Brakes
Oli L • September 9, 2021
One of the most common topics in the biking world is "hydraulic disc brakes vs. mechanical disc brakes." And so it should be because most of the bikes either come with hydraulic disc brakes or mechanical ones. Hydraulic disc brakes are the dominant of the two. These brakes are complex but reliable. However, mechanical brakes are under-performing but straightforward than their counterparts. So, which one will be better for your...
Latest Articles
Popular Articles
Product Of The Week
Monday 5th May
