How To Remove A Bike Chain? Top 3 Methods
/ Tips / How To Remove A Bike Chain? Top 3 Methods
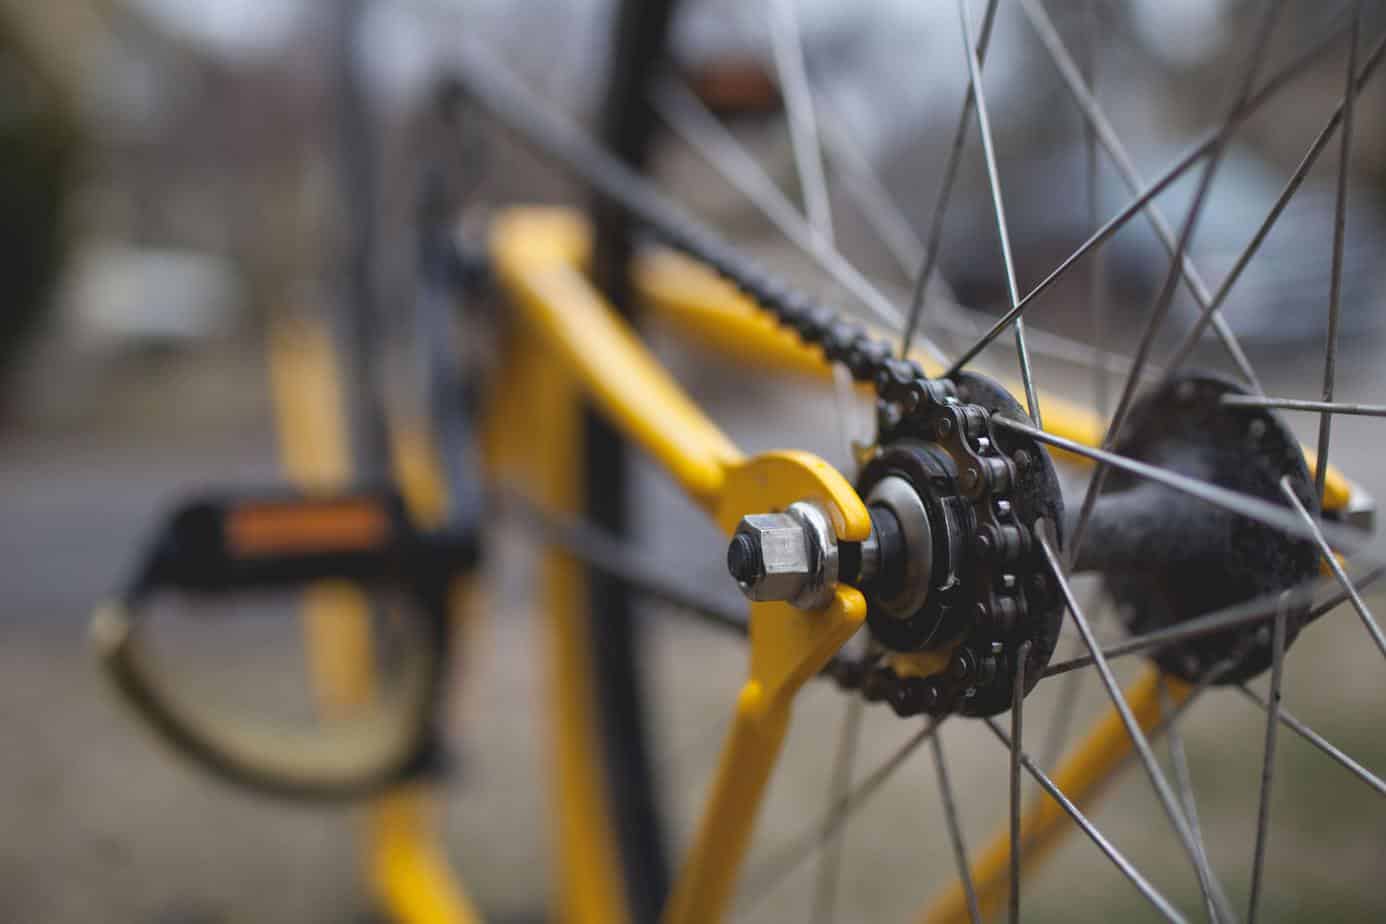
The bike chain is one of the most important aspects of the mountain bike. The engine propels the bike forward and allows you to move forward. However, many people ask how to remove a bike chain without breaking it. It is also great to maintain the bike chain now and again to ensure it does not snap.
Removing the bike chain at home is very easy if you have the right tools. However, not everyone has the tools or the knowledge to do it. In the following article, we will have a deeper look at how to remove a bike chain. With this, you should have all the information you need to remove a bike chain.
Tools You Will Need To Remove a Bike Chain
There are numerous different tools that one can use and not all of these tools are the same. However, the following list will allow you to see which tools are the most important. I hope that you are now ready and have the tools to remove the bike chain on your bike.
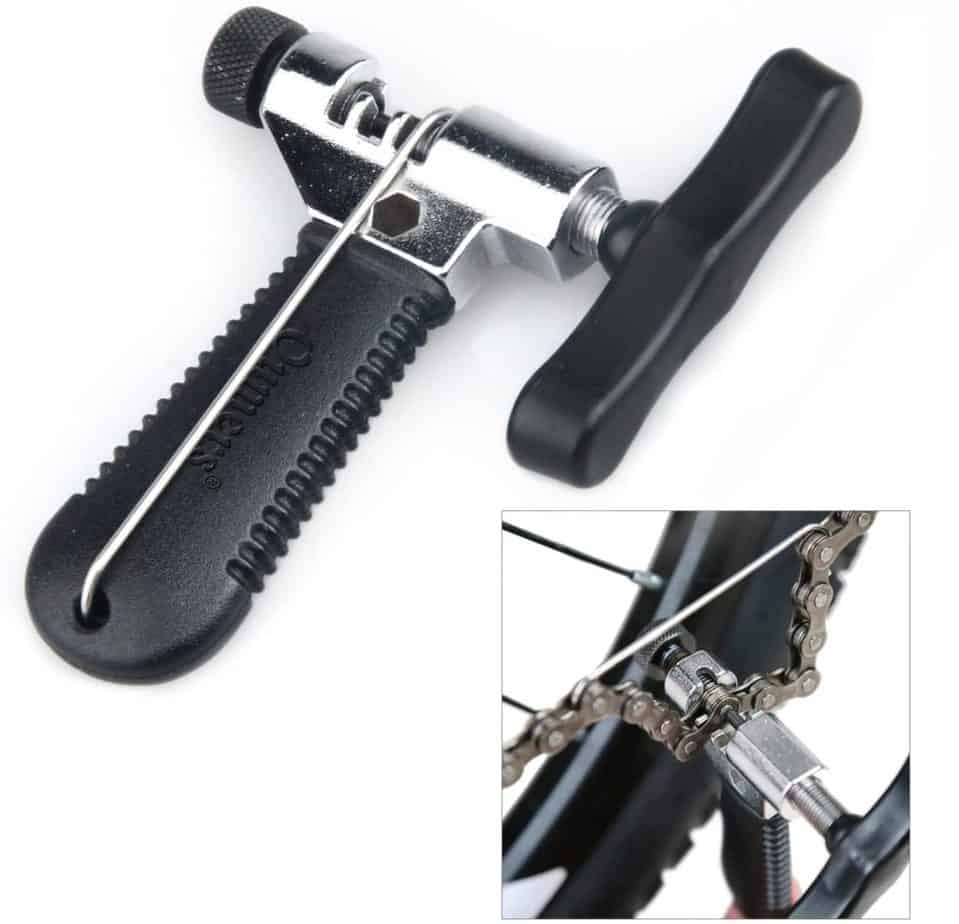
- Bike Chain Tool: The bike chain tool is one of the top tools you will use. The tool allows the pin to pop out the rivet. If it is out of the link, it is much easier to remove.
- Master Link Pliers: The master link pliers are designed to open up the main link on these bike chains and reveal the chains.
- Nose Pliers: If you have a split-link chain, you will need a pair of nose pliers to simply pull out the pin to release the chain.
- Cloth and Water: If you have a cloth, you will need to use it with some water. The water is great to clean some of the greases off the chain. However, there are many more degreasers that one can choose from.
- Grease: Various forms of bike chain grease work for these bikes. These forms of grease can be used to set up the chain and have it ready for the next riding expedition.
These are some of the basic bike chain removal tools and depending on the chain you have, you will need to find the tools that are best suited for your needs. There might be a few more specialized tools that you can use. However, the guide makes it simple for anyone to understand how to remove a bike chain.
How to Remove a Bike Chain without Breaking It
Once you have all of these tools, you will be ready to remove almost any chain. There are different chains, including the master link chain, split-link chain, and the regular chain. Unfortunately, they are not the same. However, you can use the tools that we have mentioned to remove various types of chains on your mountain bike:
Regular Chain
The regular chain is the most common and these chains are found on most of the mountain bikes you could own. They are affordable and easy to replace, which makes them an affordable alternative for those on a budget.
Use The Bike Chain Tool
The bike chain tool is the first tool you will be looking for. They can be found readily and once you have a good bike chain tool, you can start using it when you are ready to open up the chain and remove it from the bike.
Fit The Prongs Of The Tool Onto The Links
You will notice that these tools have prongs on each side that will perfectly fit over the links of the chain. The pin in the middle directly connects to the main part of the rivet. The pin is the main factor of the tool that will remove the tool.
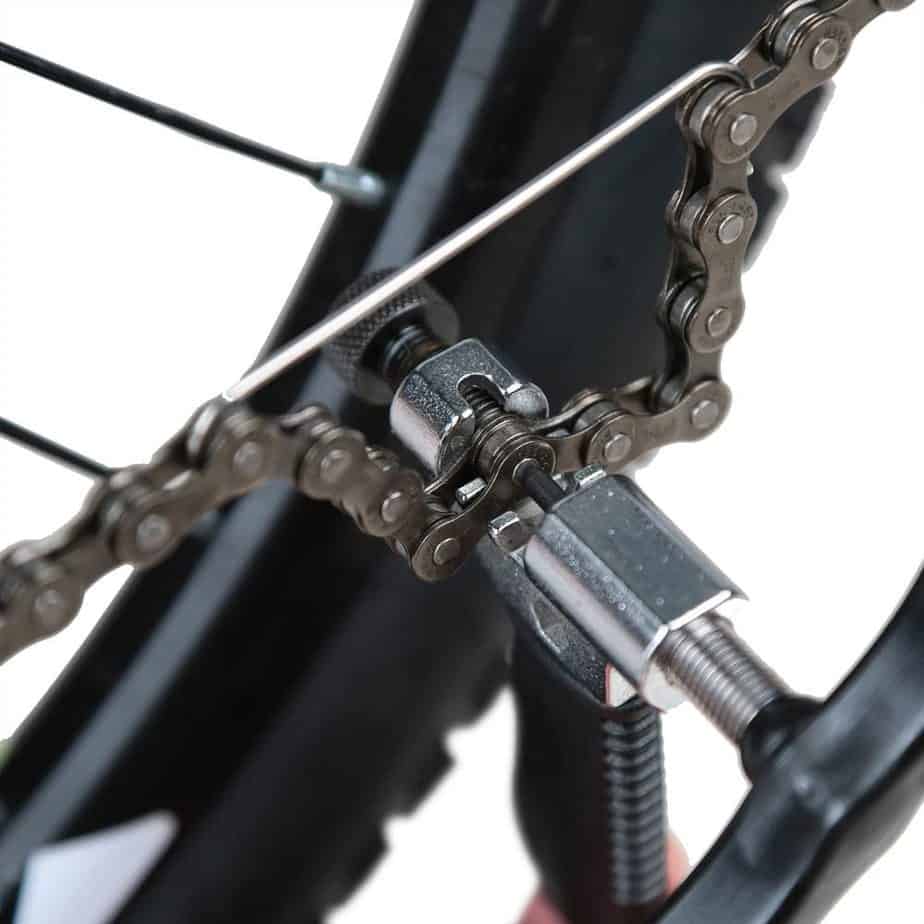
Use The Pin To Remove The Chain
Once you have the pin directly situated over the links, you would need to turn the entire tool in a clockwise position. The turning of the tool into this position will lock it into place directly over the pin. To release the pin, you should turn it in the opposite counterclockwise direction, which should release the pin.
Remove The Chain
Finally, you should be ready to remove the chain and this should be done by wiggling it around for the link to come loose. However, one should be very careful not to wiggle the chain too much as you might deform the link. You mustn’t deform the link.
Putting Back The Chain
If you are ready to put the chain back on the bike, you will need to ensure that it is perfectly lined up. Once it has been lined up, you can find the rivet that you have removed. By using the same bike chain tool, you should be able to connect the rivet and have the chain set up.
Master Link Chain
Master, link chains are also some of the most common chains you could find. These chains are commonly found on multi-speed bikes and they have a unique design. However, they are also constructed from aircraft-grade aluminum.
Use The Master Link Pliers
The master link pliers look similar to normal pliers, but they are designed to be the same size as the rivets. You will need to connect the link to pliers and position it in the right position to remove the link and unhinge the chain.
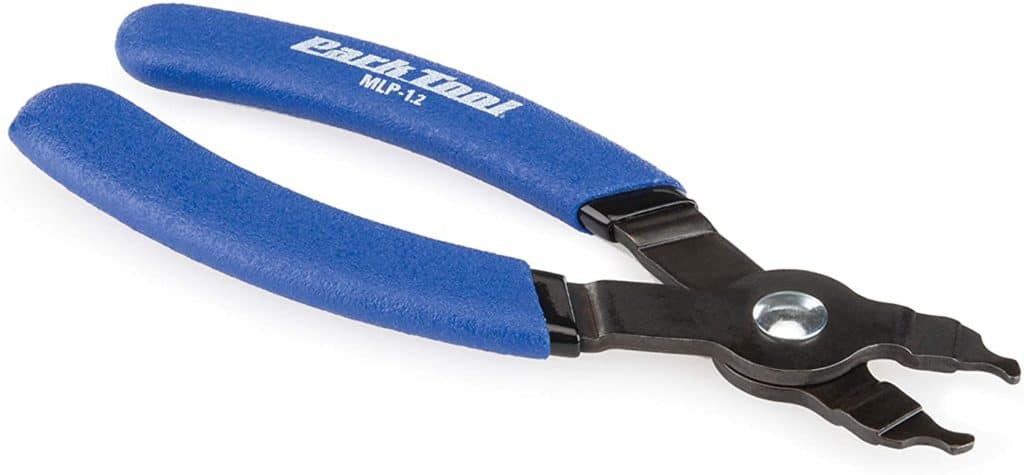
Squeeze The Master Link Together
Once you have the jaws of the pliers connected to the master link, you will need to squeeze the pliers together before slowly pulling out the rivet. The chain should easily slide of the bike when you remove the master link.
Remove The Chain
Once the master link is removed, the chain should be able to pull it apart. The chain should be just like any bike chain, but you need to be careful to ensure that the chain is not deformed. If the chain is removed correctly, it should be very easy to put back on the bike.
Split-Link Chains
The final chain you will come across is the split-link chain. These chains are some of the most highly used options for single speed bikes. They can also be found on some of the best kids’ bikes due to the ease of removal and how easy they are to remove.
Use Needle Nose Pliers
The needle nose pliers are some of the common pliers you will find on the market today. These are often available as part of your grooming kits. Since they are so readily available, the split-link chain is the best option for those looking to remove a chain at home.
Release the Split-Link Metal Plate
You will notice the metal plate that holds the links together. However, the nose needle pliers are some of the top options on the market today. These pliers can squeeze open the metal plate which should release the links on the chain.
Remove The Chain
Once all of these things have been done, you can remove the chain. However, all of these chains have the same issue and they can be deformed. You must have experience in how to use these chains. Once the chain is removed, you can clean it and add additional grease before replacing it.
Have An Expert Replace It
If you don’t feel comfortable removing these chains and you are afraid of deforming the bike chains, you will need to have an expert assist you. Having experts show you how to remove a bike chain is the best way to go as a beginner. However, the more bike chains you replace and remove, the more experience you will gain and be more careful.
Wrap-Up
It is important to have a good mountain bike when you are taking on different trails. However, the chain is part of the maintenance and must not be overlooked. Before you head out on any riding expedition, you should ensure that the bike is carefully maintained and all the parts have been checked.
Don’t forget that maintenance is party of good safety practice and can save a lot of headaches. Good luck and happy mountain biking.
Below is a Pinterest friendly photo… so you can pin it to your Mountain Bike Board!
Related Articles
What Does Travel Mean On A Mountain Bike?
Oli L • March 22, 2022
When you start mountain biking you will hear the term "travel" quite a bit. But what the heck is travel and what does it have to do with mountain biking? "Hey, dude, how much travel do you have on your front fork". This is something you will hear often and it's referring to how much suspension you have on your bike. Travel on a mountain bike is the distance you...
What Is A Mountain Bike Dropout?
Oli L • March 1, 2022
The Mountain bike dropout is not a topic of most conversations when it comes to mountain biking. These components are located on the fork-end and features a section in the frame or the fork, where the wheel can quickly be loosened and removed in the need of a wheel change. In more technical terms, it refers to a slot located in the rear axle of the mountain bike, that allows...
How to Manual on a Mountain Bike
Oli L • November 9, 2021
When you're cruising on a mountain bike or pacing through a trail, you face different problems. One such problem is the obstacles that you face while conquering trails. To overcome these obstacles, there's a popular skill that is known as a manual. With a manual, you can pass over these obstacles in style and comfort. And like every skill, this mountain biking skill requires practice. Because without practice, even if...
How To Clean Disc Brakes on A Mountain Bike
Oli L • October 21, 2021
Want to learn how to clean disc brakes on a mountain bike? Here you’ll find out what you can use to clean your mountain bike disc brakes, how to detach the disc brakes and their entire cleaning in your garage. Mountain Bike Disc Brake Cleaning Overview You can clean your mountain bike disc brakes after removing your wheels, wiping those brakes with brake cleaner and a clean rag. You can...
Hydraulic Disc Brakes Vs. Mechanical Disc Brakes
Oli L • September 9, 2021
One of the most common topics in the biking world is "hydraulic disc brakes vs. mechanical disc brakes." And so it should be because most of the bikes either come with hydraulic disc brakes or mechanical ones. Hydraulic disc brakes are the dominant of the two. These brakes are complex but reliable. However, mechanical brakes are under-performing but straightforward than their counterparts. So, which one will be better for your...
Latest Articles
Popular Articles
Product Of The Week
Monday 13th July