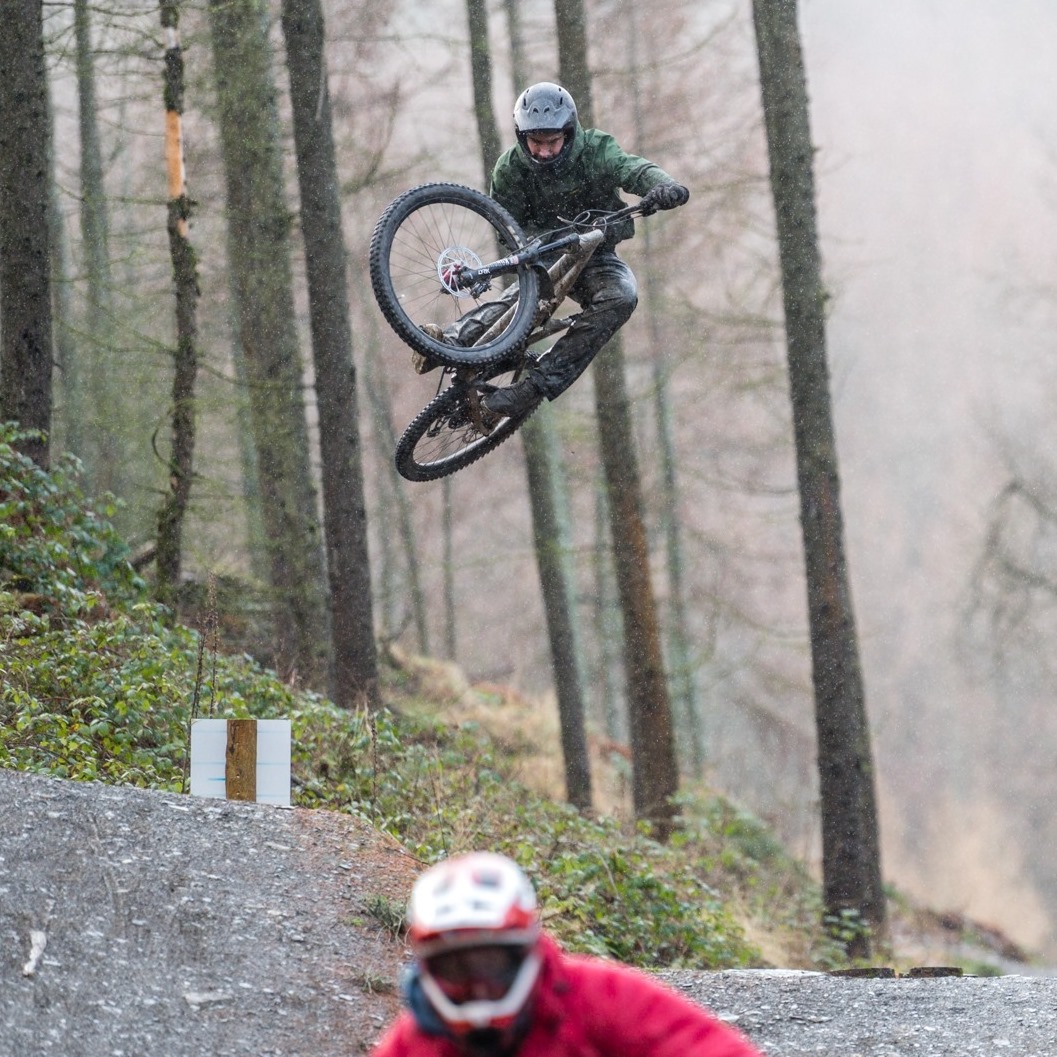
Mountain Bike Tire Pressure Tips
/ Tips / Mountain Bike Tire Pressure Tips
When biking off-road, you may experience some problems with the factory-set mountain bike tire pressure. If the pressure is too low, you’ll notice the tire start to squirm. And oftentimes, it won’t be able to support your weight. The PSI for mountain bike tires needs to be right for a proper ride.
If the tire pressure is too high, it gives a lot of bounce and instead of being firmly planted on the trail, traction suffers which may lead to a decrease to the ride comfort. For one thing, it won’t contour around rocks and pebbles. And more pressure means more susceptibility to punctures.
So, how do I set my mountain bikes tire pressure for the best performance? Well, we can’t tell you that yet yet but can share some tips. It’s only you who can figure out the perfect tire pressure for your mountain bike tires.
Here’s all you need to know about MTB tire pressure and a great video at the end to check out.
Is a lower Tire Pressure Better for Your MTB?
You may have heard a few mechanics and MTB experts recommend lower Mountain Bike tire pressure. But why is that so? Shouldn’t more pressure equal stronger and tougher tires?
Theoretically, yes. But tougher tires have one major drawback; they retain their shape. When you’re riding on rough terrain, you would want a bike tire that can contour over obstacles. This is the main reason why lower tire pressure is recommended in MTBs.
Lower tire pressure also helps to reduce rolling friction, as the tire doesn’t spring up. More pressure inside the tire will restrict your movement instead. And the tire will be tasked with holding the entire weight of the bike, which will make it more prone to punctures.
So, is there a limit? Of course, there is. Keep the tire tense enough to provide cushion, but soft enough to move around and over obstacles.
What PSI should my Mountain Bike Tires be?
If you want to know which tire pressure is the best for your bike, then you won’t find the answer. The question itself is a paradox. “Your bike” means that the right tire pressure is only specific to you. And no one can tell you straight away what the right PSI for Mountain Bike Tires is for you.
So how can you find the right tire pressure for yourself? Here are a few key factors to keep in mind.
Rider’s Weight
The first and the foremost thing the tire pressure will depend upon is the weight of the rider. Lighter individuals will require less pressure to keep the bike running smoothly. Conversely, heavier bikers need more pressure in their tires to lift their weight. This is directly proportional to other factors, such as the tire’s dimensions and terrain.
The Terrain
This is where most people get confused. Both low and high pressures benefit you in different ways. For roads that are mostly flat, smooth, and straightforward, you’ll be comfortable with higher tire pressure. This is because you won’t need traction and contortion that lower tire pressures provide.
Contrarily, on rocky rough terrain, low tire pressure is preferred as it contours around objects. Also, higher tire pressures will make the tire more susceptible to puncture damage, as the rubber will stretch more. However, in this scenario, a lot of people prefer higher pressure as it is easier to maintain. The tire won’t wobble and it helps absorb some shocks from the road.
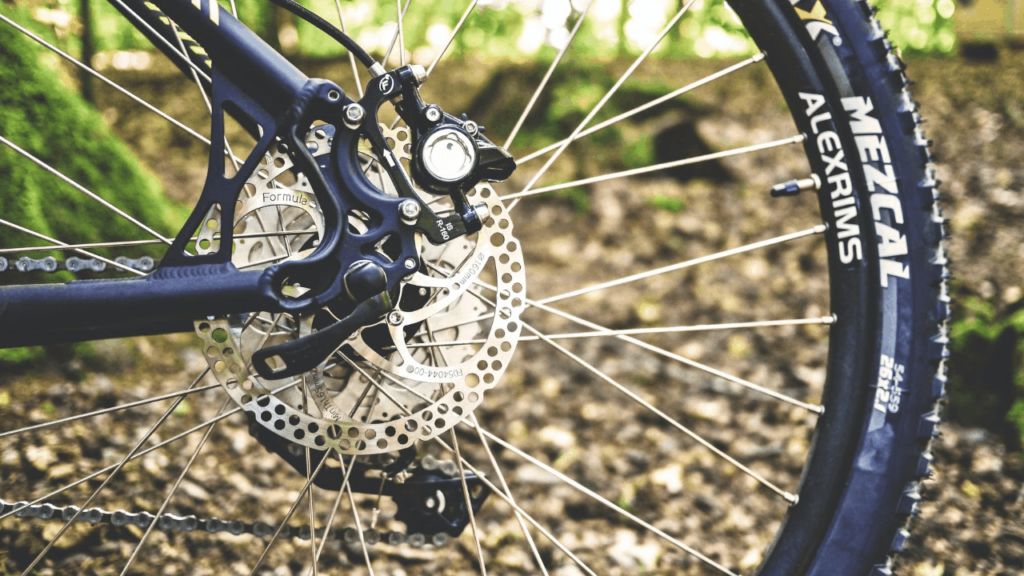
The Tire’s Rim Width
The width of the tire rim is directly connected with how low of a pressure you can set in it. Wide tire rims have more surface area, thus, can support the tire casing more. So you can run your MTB on lower pressures without sacrificing on performance or stability.
Narrow rims are best for running tires on higher pressure. They help create a more concentrated cushioning effect.
The Volume of the Tire
Next, consider the volume of your tires. The volume of the tire decides the perfect pressure for Mountain Bike tires. And it’s also linked to how different pressures tend to feel on the bike.
Generally, more volume means you’ll require more pressure to keep the tires taut. An example would be a pressure of 35 psi in two different tires of varying volumes. The tire with more volume will consider this pressure to be low. Whereas, the tire with the lower volume will consider this as high.
Tire Casing and Rim
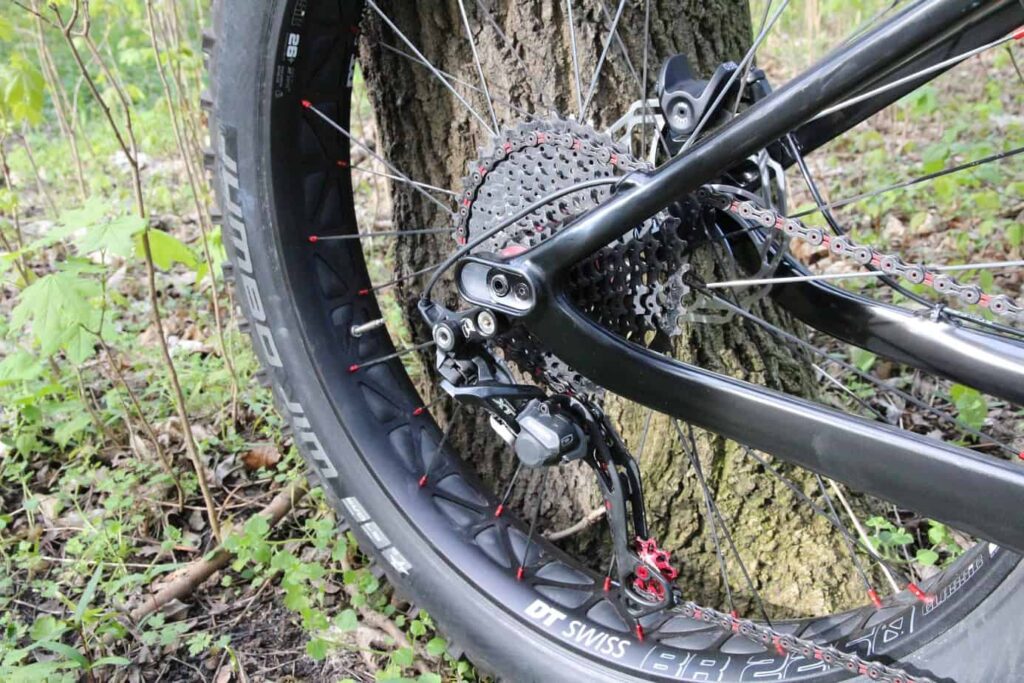
The type and material of the tire and rim that you use will decide how much pressure the tire can withstand. After all, not all tires are equally made.
Moreover, a multi-ply tire casing will mean more durability. However, you may require more pressure to inflate it because there are two layers to stretch. Some types of rubber can stretch more than others. And normally the manufacturers specify how much pressure the tire can hold.
Lighter tire casings with one or two layers require lesser pressure. So, you can run them at lower pressures for long. These are easier to stretch at lower pressures as they only use a few layers.
Also, consider whether you have tubeless tires like the Maxxis Aggressor EXO/TR Tire or not. We’ll discuss this in detail, but generally, the Mountain Bike tubeless tire pressures are low. And they are less prone to punctures.
Manufacturer’s Recommendation
Finally, consider the manufacturer’s pressure recommendation. You can usually find these on the sidewall of the tire. What does this recommendation mean? Contrary to what you might first think, this is not the pressure at which the tires will burst. Instead, it’s this burst pressure minus the legal safety standard.
This depicts you can very well go beyond what’s written on the sidewalls. But neither the manufacturers recommend this nor does the law. The sidewall recommendation is extremely high. So, you can be sure that you won’t ever go beyond this recommendation, even when aiming for higher pressure.
Best Pressure for Tubeless MTB Tires
Tubeless tires have become quite popular in recent times. They’re resistant to punctures and flats, and they don’t come off the rim as often. Perhaps, the biggest advantage is, you can run lower pressures for a more comfortable ride.
These tires can usually take on a lower pressure and are possibly the best suited to do so. However, you can run them on higher pressure as well as per requirement.
How do you Know if Your Bike has the Proper Tire pressure?
So, now you know what to consider when calculating your bike tire pressure. But the question still stands. How do you find out exactly what pressure you need? Although the process is a bit complicated, it can be done in a few simple steps.
Here’s all you need to calculate the mountain bike tire pressure:
Finding The “Sweet Spot”
The first step is to find the quote-unquote “sweet spot” of the tire. This is the pressure that provides the perfect balance between high and low. It provides sufficient feedback, does not go flat on your preferred terrain, and can contour over obstacles.
This pressure is specific to the terrain you use, your riding style, and your weight. You’ll need to factor in the diameter of your tires.
What You’ll Need
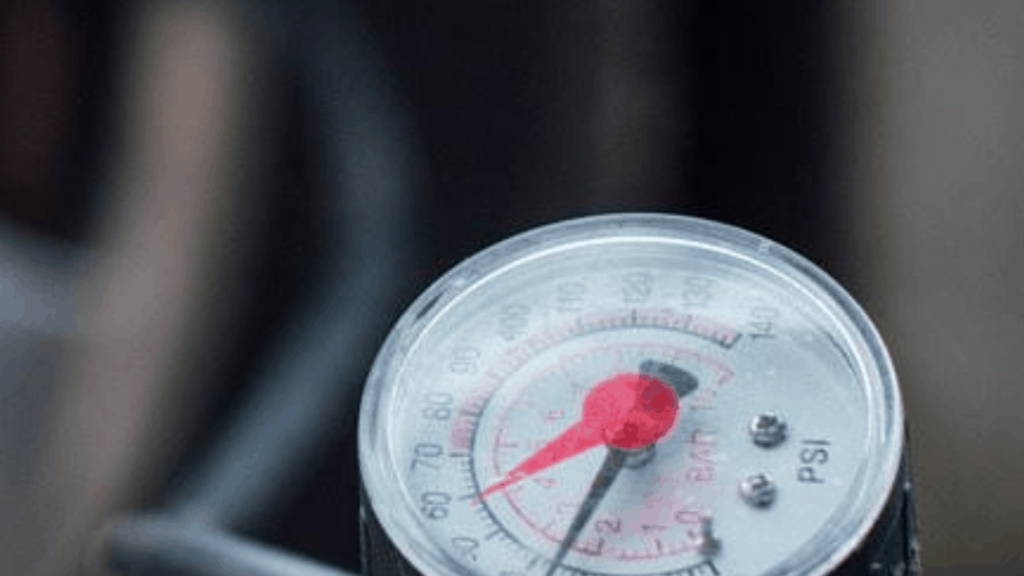
To find the sweet spot, you’ll need to get yourself a few tools. The first thing you’ll need is a pressure gauge. Consider buying a digital gauge as its variants may cost more, but they’re at least 25% more accurate than an analog gauge.
The digital pressure gauges give you the exact reading, right down to a few decimal points. This makes it easier for you to read and quickly note.
You’ll also be needing a stopwatch, some tape, and something to mark the start of the end to your test course. You can use traffic cones, but just driving a stick in the ground is a much better option.
The First Test
For the first pressure test, you need to set up the track. Choose a downhill road, preferably one that stretched a few miles. And make sure it’s similar to the type of terrain that you usually ride on.
Now, you need to initiate the test. You should inflate your tires just a few pounds beyond the recommended pressure written on the sidewall. As stated before, the tire won’t burst. So, don’t worry about that.
Then, bleed out the air using the bleeding valve. Bleed it out till it matches the sidewall recommendation. You can check this using a digital pressure gauge. Jot down this pressure and then take your MTB for a ride on the track you chose. Record the time it takes you to reach the end of the slope.
Subsequent Tests
After you successfully conduct your first test, get ready for the second run. Lower the pressure to a few psi’s (say, 3 or 5 psi for each test). Repeat the same process and try taking the same path you took in the first test. You ought to make the tests as identical as possible.
Initially, you won’t notice much difference. But as you gradually lower the tire pressure, you’ll start to notice how the tires sag and no longer provide feedback. Once you start noticing this, conduct a few more tests and then stop. This will be your “sweet spot”.
Final Calculations
Now you’ve found your sweet spot. This is the optimal tire pressure for you, and it only depends on your weight and the track you take. You can translate this pressure to other tire widths and diameters using the formula:
Tire Casing Tension = Sweet Spot Pressure X Diameter of the Tire
In this way, you’ll find the right tension to use in the tires you have. And remember that this tension is specified for you. So, you’ll have to conduct these tests yourself.
If you don’t want to do that, you can always start from the factory tire setup of the bike and try increasing it gradually.
What Conditions affect a Mountain Bikes Tire Pressure?
A lot of external conditions will affect how much pressure you can put in your tire. Temperature is by far the most influential factor. An increase in temperature will inevitably increase the tire’s pressure, up to 70% if the temperature rise is too fast.
Another factor that comes into play, is the wind pressure. Air pressure doesn’t change much at any given level. However, the higher you ride up, the lower the atmospheric pressure gets. Which will allow your tires to expand more. Even high-power winds can cause your tire to shrink.
Calculate the optimum pressure while keeping all these in mind. If you plan on riding in areas that are hot or too high, conduct the tire pressure tests in those areas. You’ll get your sweet spot pressure exactly tailored to the environment you normally ride in.
Recommended Tire Pressure for Various Brands
If you don’t feel like putting in so much effort due to your busy regime, you may take a look at the chart below. These are the recommended pressures for different brands of mountain bikes, and they depend on your weight as well. Take a look at this mountain bike tire pressure chart.
Note: These tire pressures are based on Schwalbe’s recommendations.
| Rider Weight | DH | END (DD or SG) | Trail (EXO, SnakeSkin) |
| 90+ kg | 20 psi front, 23 psi back | 22 psi front, 25 psi back | 24 psi front, 27 psi back |
| 80-90 kg | 18 psi front, 21 psi back | 21 psi front, 24 psi back | 22 psi front, 25 psi back |
| 70-80 kg | 17 psi front, 20 psi back | 18 psi front, 21 psi back | 20 psi front, 23 psi back |
| 60-70 kg | 16 psi front, 19 psi back | 17 psi front, 20 psi back | 19 psi front, 22 psi back |
| Under 60 kg | 14 psi front, 17 psi back | 16 psi front, 19 psi back | 18 psi front, 20 psi back |
These recommendations were made by Schwalbe’s Pressure Prof. They’re specified to tubeless tires that are 2.4 to 2.5 inches wide and have a 30 mm rim width. Please note that these are merely good places to start. You should factor in your tire and rim’s width as well as the type of trail you’re riding.
Check out this great video by GMBN for some more with tire pressure for your bike.
Conclusion
Mountain bike tire pressure is the most important consideration when tuning it to your preferred trail. But it’s not the only thing to keep in mind. Be sure to check out your bike’s construction, weather rating, and recommended use. All of these will come into play when you’re using your MTB off-road.
It’s important to conduct your roll-out tests to determine the perfect pressure for your tire and terrain. If the pressure isn’t high enough, your tire will wobble, and when the pressure is too high, the ride can be bumpy and uncomfortable.
To find that right balance of high and low pressure and get started on your mountain biking!
Below is Pinterest friendly photo… so you can pin it to your Mountain Bike Board!
Related Articles
What Does Travel Mean On A Mountain Bike?
Oli L • March 22, 2022
When you start mountain biking you will hear the term "travel" quite a bit. But what the heck is travel and what does it have to do with mountain biking? "Hey, dude, how much travel do you have on your front fork". This is something you will hear often and it's referring to how much suspension you have on your bike. Travel on a mountain bike is the distance you...
What Is A Mountain Bike Dropout?
Oli L • March 1, 2022
The Mountain bike dropout is not a topic of most conversations when it comes to mountain biking. These components are located on the fork-end and features a section in the frame or the fork, where the wheel can quickly be loosened and removed in the need of a wheel change. In more technical terms, it refers to a slot located in the rear axle of the mountain bike, that allows...
How to Manual on a Mountain Bike
Oli L • November 9, 2021
When you're cruising on a mountain bike or pacing through a trail, you face different problems. One such problem is the obstacles that you face while conquering trails. To overcome these obstacles, there's a popular skill that is known as a manual. With a manual, you can pass over these obstacles in style and comfort. And like every skill, this mountain biking skill requires practice. Because without practice, even if...
How To Clean Disc Brakes on A Mountain Bike
Oli L • October 21, 2021
Want to learn how to clean disc brakes on a mountain bike? Here you’ll find out what you can use to clean your mountain bike disc brakes, how to detach the disc brakes and their entire cleaning in your garage. Mountain Bike Disc Brake Cleaning Overview You can clean your mountain bike disc brakes after removing your wheels, wiping those brakes with brake cleaner and a clean rag. You can...
Hydraulic Disc Brakes Vs. Mechanical Disc Brakes
Oli L • September 9, 2021
One of the most common topics in the biking world is "hydraulic disc brakes vs. mechanical disc brakes." And so it should be because most of the bikes either come with hydraulic disc brakes or mechanical ones. Hydraulic disc brakes are the dominant of the two. These brakes are complex but reliable. However, mechanical brakes are under-performing but straightforward than their counterparts. So, which one will be better for your...
Latest Articles
Popular Articles
Product Of The Week
Monday 13th July