8 Mountain Biking Tips For Beginners
/ Tips / 8 Mountain Biking Tips For Beginners
If you’re just starting out with Mountain Biking or looking to improve your riding skills, we’ve put together a list of 8 Mountain biking tips for beginners. Simple changes can make a huge difference when you’re riding your bike in the trails. These changes can drastically help with how you feel and your skills while riding.
Mountain biking is one of the best hobbies and learning these mountain bike tips makes it easier and lots of fun. The benefits of Mountain Biking will improve your physical health along with your mental well-being.
8 Mountain Biking Tips for Beginners
We all could use the help when we’re first starting off or wanting to improve. Enjoy these Mountain Biking tips and put them to work.
1. Trail Maps
Our 1st tip for new Mountain Bikers is to look for trail maps. A lot of beginners show up to trails and expect it to be simple to navigate. This will be true with some locations but could turn into a bad day for others. Getting lost or stuck on difficult trails you can’t ride will ruin your riding time and make you late for dinner.
Check online or your local bike shops for trail maps. A little prep work will go a long way when you first start Mountain Biking. Having a map handy will save tons of time figuring out where to go and what trails will accommodate your skill level.
Sites like mtbproject.com have done a great job at mapping out trails in most states. Newer trails might not be updated and will take some time before you get a trail map.
Once you learn the trails you can ditch the maps. After a few rides out you will feel way more comfortable and know where to go. We put this 1st because you should plan to do this before you leave your house.
2. Mountain Bike Stretching
Our entire lives we’re told to stretch and most of us don’t. We have this 2nd because it’s the 2nd tip you should plan before your ride. This alone will improve your mountain biking experience, keeping you pain free during and after your ride. You will get other benefits with stretching along with feeling better.
You use all your muscles mountain biking but stress will be on your lower back and legs the most. Skipping this step will increase your chances of injuries and discomfort. There’s nothing worse than a great day of riding to come home laid up with a sore back.
Stretching is something we should do in our everyday lives. Before you go riding, plan on giving yourself about 20 minutes to loosen up and stretch. This can be done at home before you leave or in the parking lot at the Mountain.
Focus Area’s
- Calves
- Hamstrings
- Quads
- Hip Flexors
- Gluts
- Low Back
- Wrists

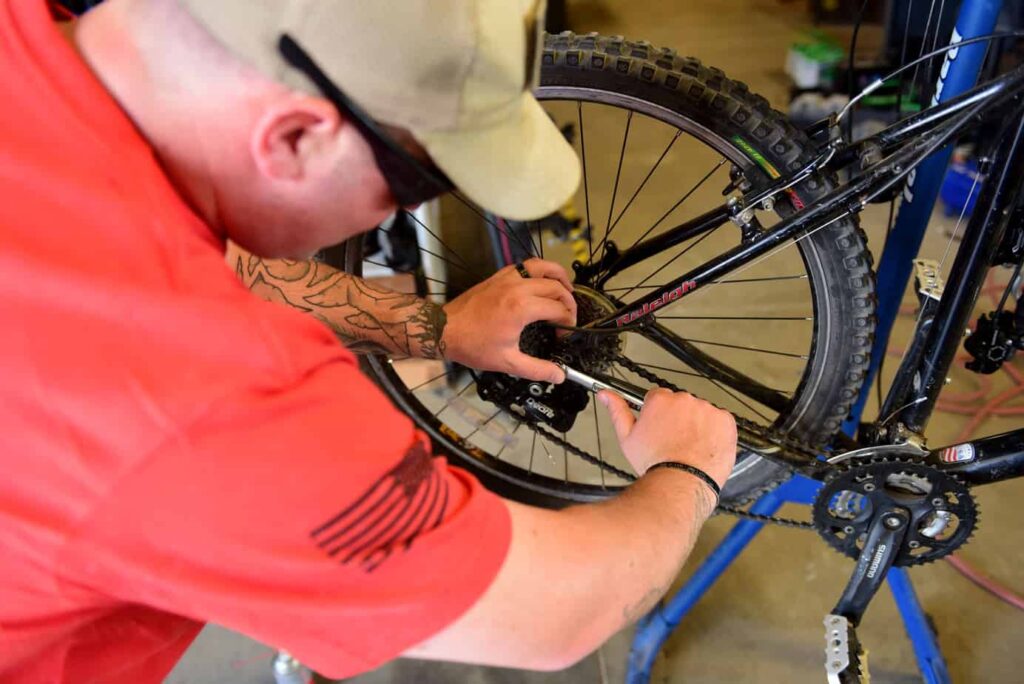
3. Bike Check
You should do a bike check after and before each ride to make sure your bike is ready. Before hitting the trails, check the components on the bike. This will be a good habit to prevent breakdowns and will improve your bike mechanics.
- Make sure your tires are inflated at the correct PSI, usually 25-35psi for Mountain bike tires. If your tires are tubeless they can run even lower, around 20psi.
- Check your seat post height to make sure its set correctly.
- Oil your chain to keep it running in optimal health. A non-oiled chain will cause friction and put stress on your gears.
- Test your brake function. Quickly make sure your brakes are operational.
- Check your gear. Make sure you have tools and equipment.
These checks are a good habit to start. Once you become more familiar with your bike you will know what needs attention as you spend time riding.
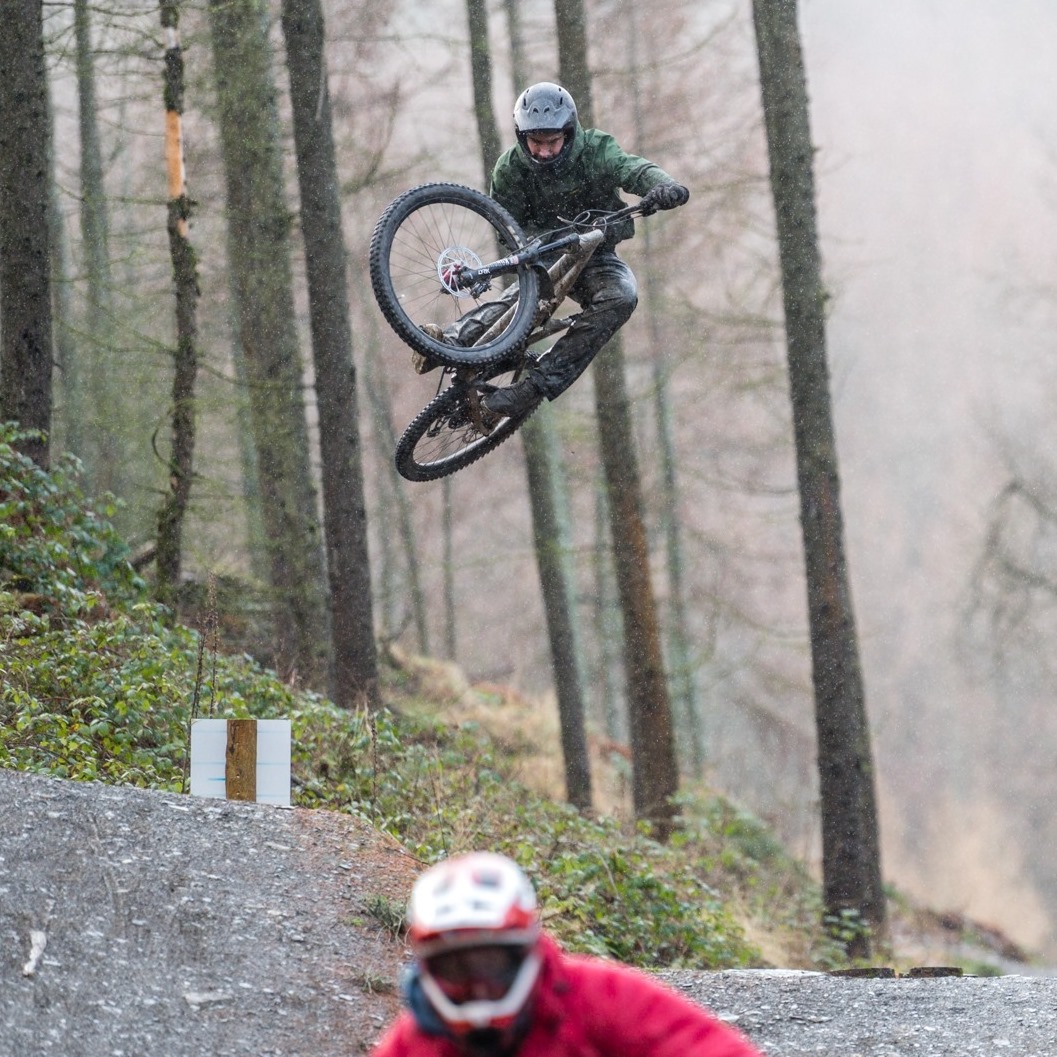
4. Mountain Bike Riding Positions
There are a few riding positions to be aware of. Depending on the terrain your riding will determine what position you will use. Riding uphill will require different techniques then riding downhill.
- Ready/Neutral Position: First is the ready or neutral position where you will be riding on your pedals with your knees slightly bent and butt off the seat. This position will give you the ability to shift your wait as needed before going uphill, downhill or ready to tackle an obstacle.
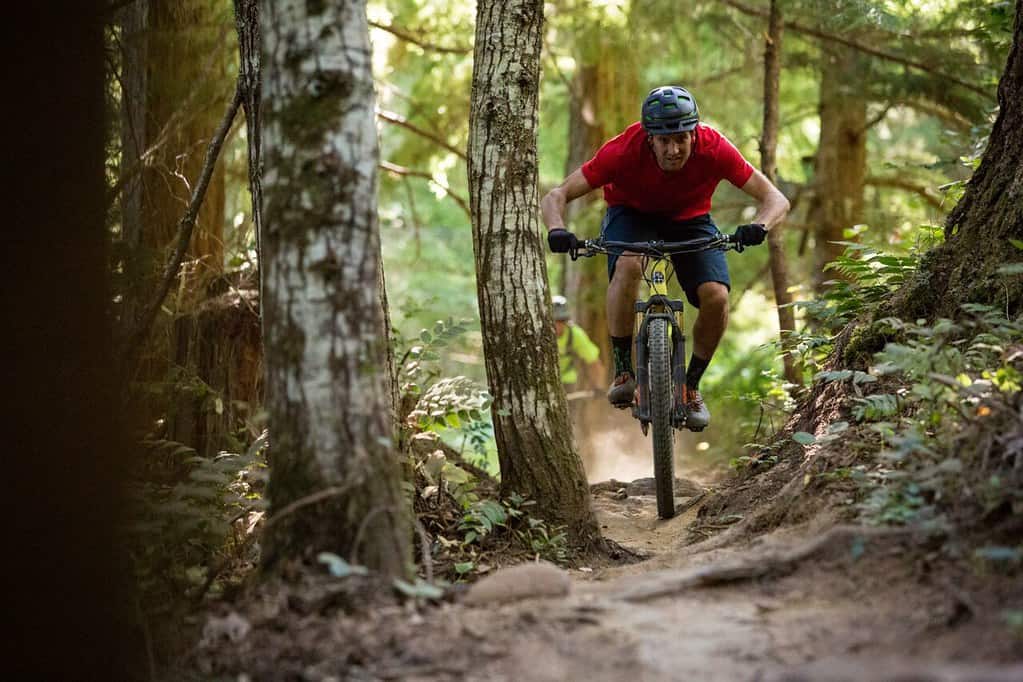
- Attack Position: This is similar to the ready or neutral position. The difference is that you are in the process of riding over the obstacle. Your knees will become more bent as your legs pedal with force to power over the terrain.
- Climbing Position: Next is the climbing position where you will be seated. This position gives you the most pedal power when traveling uphill. Having your butt firm on the seat keeps your weight on the back of the bike. This helps your traction by avoiding your rear tire from slipping out. Once you take your weight off your seat you risk losing traction and might have to get off your bike to hike it up the hill.
- Descending/Downhill Position: Last is the descending or downhill position where it’s all about keeping your weight back. Depending if you have a seat dropper post will determine how you do this. If you have a seat dropper you can trigger your seat to drop giving you the natural downhill position. If you don’t have a seat dropper, keeping your weight far back possibly even behind the seat will have to do. The goal is to avoid weight moving forward and sending you over the handlebars.

5. Choosing your Line/Path
Understanding how to choose your line takes a few times out in the trails but it’s something anyone can do. Choosing your line means to scan ahead about 15-25ft. This gives you the ability to avoid certain obstacles or choose to attack certain obstacles over time.
A beginner mistake is to get fixated on an object that’s to close and lose your focus. This causes you to lose your balance and either fall or ride into it. Scanning ahead to choose your path is a great habit to start and will improve your Mountain Biking.
6. Mountain Bike Braking
Braking is another topic that beginners often overthink. Mountain bike brakes are well engineered with mostly disc brakes. These brakes will stop you really fast but sometimes stopping fast can send you flying over the handlebars.
Mountain bike brakes don’t need a lot of pressure to engage them. You don’t need your entire hand squeezing these brakes to stop. One or two fingers will do the trick and give you the ability to slowly engage the brakes to slow down.
Understand what brake stops your front and rear tire. Your left hand controls the front brake while the right controls the rear. When approaching a downhill section, both brakes should be used. Your front brake has most of the stopping power but avoid only engaging your front brake. Both brakes need to be slowly engaged to give you the most control.
Another mistake to avoid is going into a skid. Once you start skidding you’re giving your control away. This also slows the process of stopping and increasing your chances of falling. Skidding also wears down the trails causing erosion.

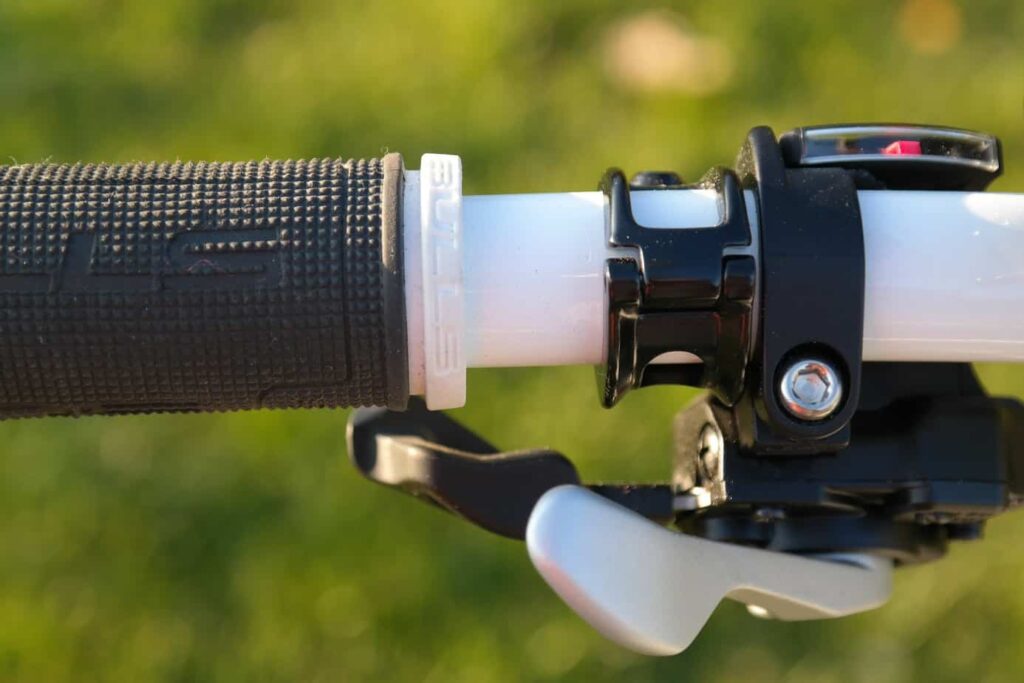
7. Mountain Bike Shifting
Shifting is not only something that helps you pedal uphill, it reduces the wear and tear on your chain. Proper shifting will make a huge difference with your performance.
First learn your bikes shifters. On most bikes your left hand controls the front gears while the right hand controls the back gears. See how your bike shifts to get the feel for it. Each bike will shift slightly different depending on the equipment.
Remember to shift ahead when approaching a hill. This will prepare you to be in the right gear for the climb and avoid getting stuck walking your bike.
For smoother shifting, pedal lightly to ease the gears into place. You’ll know you’re doing it right by the feel and sound. When you hear the gears grind is your cue to ease off the pedaling.
8. Trail Etiquette
With most hobbies and sports you will find some basic etiquette. Mountain Biking is no different with numerous occasions of other riders and hikers enjoying the same trails and nature.
As always with anything we do in life, be nice and courteous. As a beginner you might be moving at a slower pace and will want to move over for other riders coming close. Let them pass and continue on your way.
When you’re the one looking to pass someone, nicely give them a heads up as you approach. Keep your eyes peeled for hikers and slow down if it’s a tight trail. Everyone is out to enjoy nature and get some physical activity in.
Last and most important is to yield to Mountain Bikers riding uphill when you’re riding downhill. Move over and let them pass. When you’re in the middle of a climb, getting off your bike takes the fun out of the challenge. It’s much easier for the rider going downhill to move over.
Conclusion
This is the first set of mountain biking tips for beginners to keep in mind when you’re ready to start riding. Each ride out will teach you something new and fall into the categories discussed. Remember that practice makes perfect and the more you ride the better you will get!
I hope this helps avoid some head aches and improve your riding skills. Now get out there and enjoy some singletracks.
Related Articles
What Does Travel Mean On A Mountain Bike?
Oli L • March 22, 2022
When you start mountain biking you will hear the term "travel" quite a bit. But what the heck is travel and what does it have to do with mountain biking? "Hey, dude, how much travel do you have on your front fork". This is something you will hear often and it's referring to how much suspension you have on your bike. Travel on a mountain bike is the distance you...
What Is A Mountain Bike Dropout?
Oli L • March 1, 2022
The Mountain bike dropout is not a topic of most conversations when it comes to mountain biking. These components are located on the fork-end and features a section in the frame or the fork, where the wheel can quickly be loosened and removed in the need of a wheel change. In more technical terms, it refers to a slot located in the rear axle of the mountain bike, that allows...
How to Manual on a Mountain Bike
Oli L • November 9, 2021
When you're cruising on a mountain bike or pacing through a trail, you face different problems. One such problem is the obstacles that you face while conquering trails. To overcome these obstacles, there's a popular skill that is known as a manual. With a manual, you can pass over these obstacles in style and comfort. And like every skill, this mountain biking skill requires practice. Because without practice, even if...
How To Clean Disc Brakes on A Mountain Bike
Oli L • October 21, 2021
Want to learn how to clean disc brakes on a mountain bike? Here you’ll find out what you can use to clean your mountain bike disc brakes, how to detach the disc brakes and their entire cleaning in your garage. Mountain Bike Disc Brake Cleaning Overview You can clean your mountain bike disc brakes after removing your wheels, wiping those brakes with brake cleaner and a clean rag. You can...
Hydraulic Disc Brakes Vs. Mechanical Disc Brakes
Oli L • September 9, 2021
One of the most common topics in the biking world is "hydraulic disc brakes vs. mechanical disc brakes." And so it should be because most of the bikes either come with hydraulic disc brakes or mechanical ones. Hydraulic disc brakes are the dominant of the two. These brakes are complex but reliable. However, mechanical brakes are under-performing but straightforward than their counterparts. So, which one will be better for your...
Latest Articles
Popular Articles
Product Of The Week
Monday 2nd March