How To Adjust Mountain Bike Suspension
/ Beginners / How To Adjust Mountain Bike Suspension
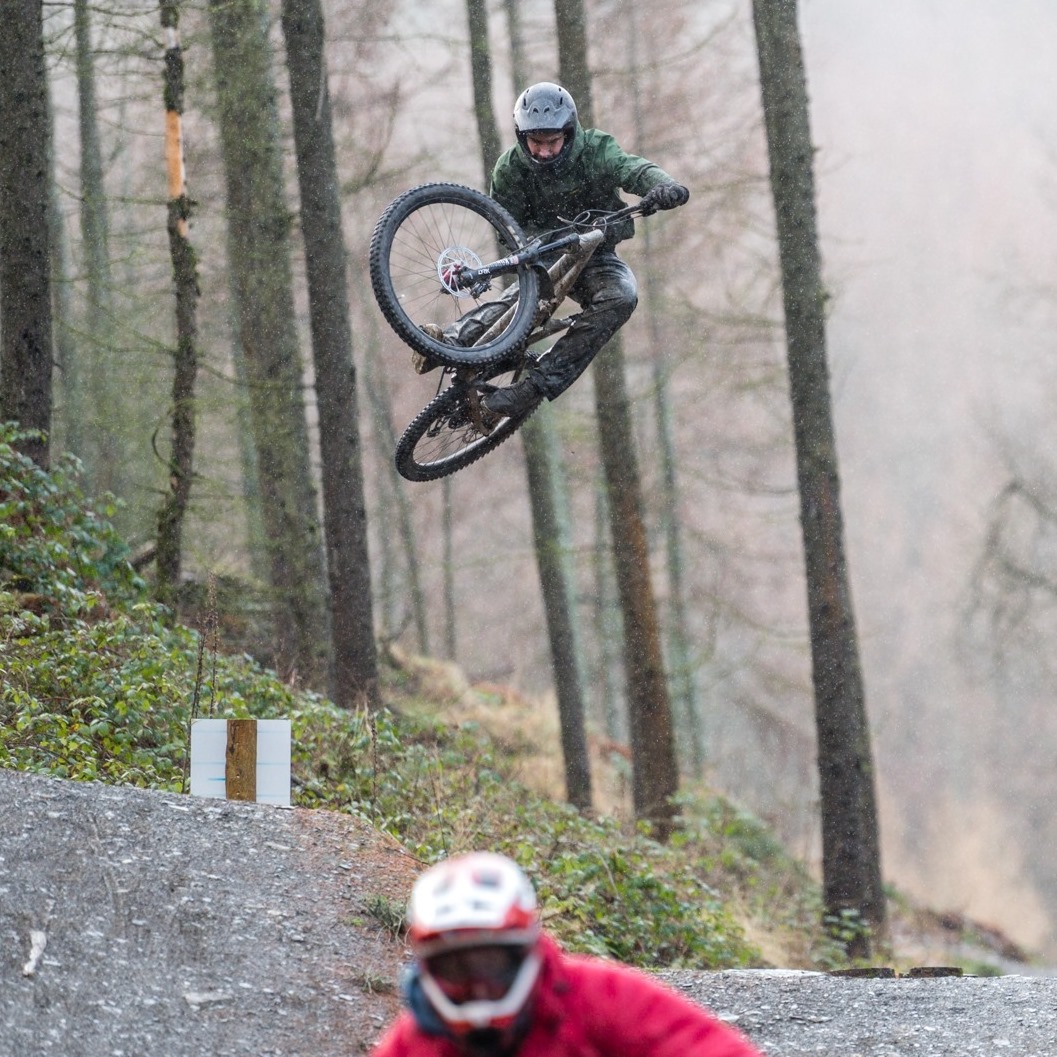
OLIVER L. Author
Published: September 24, 2020
Oliver has been mountain biking for over 20 years, raced downhill nationally and is part of several mountain biking clubs and communities. He currently owns five bikes... and they all get used (as he reminds his girlfriend regularly) Read More
If you think you can’t rebound fast enough or if your spring rate is leaving you deflated, it’s time to adjust the mountain bike suspension.
You need to adjust the mountain bike suspension to help your cause. In this guide, we will take you through some essential steps for optimizing your mountain bikes suspension according to your riding style and the trails you prefer.

The entire process of this setup and adjustment will only take a couple of hours. But your ride will become extremely enjoyable wherever you go.
To begin with the process of setting up mountain bike suspension, you need to keep a few things in mind.
Understand The Dynamics Involved
You have to understand the fact that a suspension setting is a dynamic process. There are numerous variables involved in it including the type of trail you ride the most, your body weight, which type of mountain bike you ride, and how you ride it…!
In simple words, just copying the suspension settings of your friends or any of the professionals around is not going to cut it. Most bike manufacturers provide you with printed guidelines that can be a good starting point for you. This guide will help you adjust your mountain bike suspension to meet all your riding requirements.
The Compromise with Suspension
There is no such thing as a perfect mountain bike suspension setting. For optimizing your suspension to tackle big hits, you will have to compromise on sensitivity associated with smaller bumps and vice versa.
You are always compromising with your suspension setup. Therefore, you should find a balance between support and sensitivity. You must keep the suspension setting well-aligned with your riding style and the trails you prefer to ride.
Don’t Forget About your Fork and Shock
Before you start to adjust mountain bike suspension settings, you have to make sure your fork and shock work in proper order. If the entire system is wheezing and puffing when you start going downhill, it’s just a waste of time to adjust mountain bike suspension.
Bike manufacturers make a recommendation to oil the system after at least each of your 50-hour rides. You also have to conduct a full damper service after every 100 to 200-hour bike ride.

But if you have been through some action on your bike then considering these numbers important. You have to get your bike examined by professionals before you start working on it. You will see how it transforms the overall performance of your bike both in the short and long run.
The Process
As stated above, the entire process will take you around a couple of hours and you will see how well your bike does on your favorite trails. So let’s begin!
What You Will Need To Get Started
To begin with the process, you need your regular biking apparel; everything including your helmet and your backpack. It is important to be precise with your body weight when you are making these adjustments for an optimal setting.
Of course, you will also require a brief section of the trail you prefer to ride to make the adjustments accurate. Besides, you will need a measuring tape or a ruler, a calculator, a shock pump, and one of your buddies for assistance.
Now, let’s get to the process to adjust your mountain bike suspension!
Step #1) Sag Setting
To make sure your suspension works at its best, you have to adjust it so it can respond to all contours on your trail. Upon hitting an obstacle, your shock, and fork compress and absorb the impact’s energy.
For maintaining proper traction, your shock and fork have to absorb these impacts to extend for filling the holes to keep the tires grounded. For making your suspension compress as well as extend, you have to preload it with your bodyweight.
Sag is the amount of this preloading and with your body weight, you are sagging the suspension into the travel as you take your seat on your bike. If there is not enough sagging the bike will not have enough grip and won’t extend into compression. And if there is too much sagging, your bike will not respond properly to any repeated hits.
The leverage ratio is between the travel of your shock damper and the travel of your rear wheel. There are three types of leverage ratios: progressive, regressive, and linear.

Setting The Rear Sag
On level ground, start by checking that your rear shock is fully open. For low-speed compression adjusters, wind them fully in (-) direction. You can ask your buddy to provide support to your bike as you climb on it.
- Start bouncing firmly on your bike so you can charge the -ve spring and free up your travel.
- Make sure you are in your normal sitting position. After at least 5 seconds, ask your buddy to push the shock stanchion rubber o-ring up or down to the wiper seal.
- Now, rock your body weight carefully forward and dismount from your bike.
- It’s time to measure the distance your buddy has pushed the o-ring from its rubber wiper. You need to measure this distance in millimeters.
- Divide the number you have measured by the overall shock stroke. The shock stroke is mostly less than the physical length of the shock shaft. You can find it in your bike’s manual. Multiply the resulting number by 100 to get the rear sag percentage.
- For correct numbers, you can add/remove air from your bike’s air spring according to your need and repeat the entire process. You can use the Giyo shock pump for this purpose.
Some manufacturers have their recommended sag setting. But if your bike manufacturers don’t mention such a thing, we recommend going for a 30% rear sag. If you want lesser sag then add some air to your shock.
For more sag, you can add more air. And always increase or decrease the air in 10 PSI increments or decrements. Keep in mind to hold one brake and not both while setting the sag.
Setting Fork Sag
Now it’s time to address the question of how to adjust your mountain bike suspension fork. After setting your rear sag, it’s time to turn your attention towards the suspension fork like the Rockshox Recon Silver. You have to ensure you have fully opened the suspension damping. Adjust your air spring pressure according to the recommendation. Ask your buddy to provide support to your bike as you climb on it.

- Start bouncing firmly to -ve charge the spring and free the seals up.
- Assume your regular standing position for attack. Allow the bike to settle after about five seconds. Ask your buddy to slide down the o-ring on your fork stanchion to the wiper seal.
- Rock your body weight backward carefully and dismount from your bike. Don’t disturb your o-ring’s position.
- Now, take your measuring device and gauge the distance your buddy has pushed the o-ring from the seal. The distance should be in millimeters. Divide it by the total travel and multiply the result with a hundred to get the fork sag percentage.
Make sure to start with your bike manufacturer’s recommendation and if there is nothing, we would suggest you go for 20% fork sag. Again, if you need less sag, add air to your fork and if you need more then let some air go. The increments and decrements should always be 10 PSI. After each increase or decrease, you need to repeat the entire process for accurate numbers.
Advanced Tuning
Time to turn your focus to your base setting. You can pick a short section of your favorite trail that has all the features you frequently use. It needs to have all the bumps, jumps, rocks, and G-outs too. Just make sure the patch has everything you prefer to use. The more features it has the better it would be for you to test your suspension.
At times you have to anti-squat your mountain bike for better performance. The term anti-squat refers to the mountain bike suspension system’s resistance towards compression.
You can choose a trail where you can have comfortable travel. It will allow you to hit the lines repeatedly. Before the tuning process, make sure all external rebounds and compression adjustments are set to the recommended specifications. It will ensure the settings are in a good base range according to your overall weight.
Step #2) Air Spring Rate Optimization
For base settings, 30% shock and 20% sag are perfectly fine. But that doesn’t mean these are the optimal settings according to your riding style and bike suspension. Spring rate is the force required to compress the spring and always a balance between sensitivity for small bumps and support for big hits. The optimal setting will heavily be based upon the trail and your riding style.

Get comfortable after some rides and push the shock and fork o-rings down to their wiper. Concentrate on how the drops and impacts feel. Check to see whether your bike is harshly bottoming out on the small bumps. Also, see if you get the full travel like you normally do or not.
Rear-End Is Bottoming Out
When the bike is not bottoming out, it means that the rising rate of your bike is high. It happens when the rear end has a higher mechanical advantage. When the bike bottoms out easily then its called the falling rate.
If your bike’s rear is feeling wallowy or stuck to the ground (easily bottoming out), your shock spring rate is on the lower side. You have to add pressure to your rear shock like Rockshox – Monarch R. With 10 PSI increments, repeat your trail and stop adding air when the ride feels comfortable during full travel. Note down the optimized pressure for this setting.
The Bike’s Rear Feels Harsh On Smaller Bumps
In case, your bike’s rear end feels harsh on smaller bumps and doesn’t allow you full travel, your shock prism is too high. You can remove air at 10 PSI decrements and run the trail again. When it feels comfortable, stop removing air and note down the pressure.
Diving Suspension Fork Over Steep Trails
If the suspension fork dives on steeper trails, the spring rate is on the lower side. In such a scenario you have to add air with 5 PSI increments and run the trail again.
The Suspension Fork Lacks Grip
In case, the suspension fork lacks grips and is harsh on smaller bumps then the spring rate is on the higher side. You need to remove air from your fork with 5 PSI decrements and run the trail again. When the bike ride feels good stop removing the air and note the reading down.
Step #3) Progression of Spring Rate
It’s time to consider how challenging trails you ride and how skillful you are as a rider. This is where the leverage ratios come into play. But we will focus on the progressive leverage ratios only. For strong riders who think their rear suspension bottoms out or fork runs low, you have to adjust the progressivity of the spring rate.

For a progressive spring rate, you have to add some volume spacers. You might have to remove them if you are not obtaining enough travel. With the addition of volume, spacers will make your suspension fork stronger and more force will be needed to bottom them out.
Bottoming Out Frequently Despite The Correct Pressure (Air Spring)
You have to reduce the volume of air in your shock or fork. You can do that by adding one or two-volume reducers here. It will make the suspension fork tough to bottom out significantly.
Not Achieving Full Travel
You can increase the air volume in your shock or fork by removing one or two-volume reducers. Doing this will make your suspension fork a little loose and allows a slight bottoming out.
If you make significant changes to your fork setup by firming the spring rate or adding more volume, just adjust the rear shock to match it. With the improved confidence on the front, you can ride with more strength and you might reconfigure your shock. Go back to your track and run it again.
Step #4) Rebound Damping
With rebound damping, you can control the speed of extension of compression suspension after a hit. If this damping is too low your suspension will extend a bit too quickly. You will feel the bounce and it might be a bit too out of control. If the damping is too high, your suspension won’t recover quickly enough after any repeated hits and will pack down.
Setting Shock Rebound Damping
- You can begin by adding full damping to your shock.
- Pick a small drop and ride off gently. Emphasize how your rear suspension springs after a hit.
- Now repeat your test by reducing the damping by one click at a time and check how your shock begins to recover quicker.
- Stop with the increments when you see the recovery is a bit too fast that some of it overshoots. It proves to be a good base setting and run the trail with it. You may experiment with 2 clicks on each side and check which feels better with more grip.

Setting Fork Rebound Setting
- For setting base fork rebound you can begin with a fully closed adjuster. Now, stand right next to your MTB and compress its fork using your body weight. Release the fork quickly and allow it to bounce back.
- You can adjust the rebound without making the front wheel jump off the ground.
- This is the base setting and after you are done with it, run the trail. Repeat the trail. You may experiment twice more using 2 clicks on each side
Rebound Damping at High Speed
Most of the shocks and suspension forks come with a single adjuster for rebounds and is a low-speed adjuster. Some of the high-quality suspension units come with high-speed adjusters too. Such a setting can control high-speed rebounds. But there is plenty of crossover between low and high-speeds.
If you adjust one of them, it heavily influences the other. If you have a high-speed adjuster it is suggested to go for the recommended settings. Use them as your base setting and use the above-described process to make the adjustments.
If you ride easier trails or ride slowly then a slow rebound might feel a lot more comfortable at an initial stage. But if you shift to a faster terrain, you will end up with sore legs and arms because your bike won’t recover quickly from those hits. You need to run a rebound setting as fast and as comfortable for maximum performance.
Step #5) Compression Damping and Low Speed
This kind of damping influences your overall suspension traits at lower shaft speeds. It predominantly affects the midportion of your suspension travel. If you have achieved a decent spring rate, you need to add some compression damping for low-speed. This will also help if you feel sinkage when you push your bike around the corners or jump.
With this addition, you will lower your suspension sensitivity. So, you only need to add a minimum to achieve proper support.
Bike Moving Quickly Through The Middle Stroke
- Begin with nothing added to the shock for compression damping for low-speed. Increase the compression by 2 clicks each time you run it.
- Emphasize the overall feel of your bike with huge weight shifts, cornering, jumps, and braking. Stop the increments when you see the bikes feel very supportive in the mid-portion of the travel.
- You can do the same for your fork.
- Make sure you keep it balanced between your fork and shock. If it is too high on the fork, your bike will shift more weight on the rear end during your ride. Therefore, you have to keep it balanced.

Step #6) Compression Damping for High-Speed
The rear shocks and forks come with compression damping for high-speed and are most expensive. They control damping when the suspension compresses for big hits at higher shaft speed. In case, your fork and shock are still easily bottoming out, you can adjust your compression damping for high-speed.
With more high-speed damping, the travel your fork uses gets reduced at bigger hits. Low-level compression might result in digressing damping that will ensure easy travel and a high response rate. On the other hand, a high level of compression will result in progressive damping which reduces the amount of travel against quick and big hits.
Bike Needing More Support During High-Speed Big Hits
- Begin the tuning process with no compression damping on your shock. Run the trail and increase the damping by 2 clicks each time.
- Emphasize how the bike performs and feels on heavy impacts. When you think that the bike feels good enough then you can stop adding damping.
- You can repeat the entire process for your fork.
Step #7) Check The Balance
Talking about damping and rebound, you have to choose a balanced set up between the two. For your final check, you can find the level ground and ride slowly. From your attack position repeated pump as hard as you can.
Your bike should be supportive and its rebounding speed should be properly balanced for both rear and front. If you feel the bike is unbalanced, try to identify the location of the imbalance, and make any adjustments accordingly.
Effects of Different Suspension Settings
Increasing The Spring Rate (Air Pressure)
- “+” more support, high riding height, less squatting
- “+” tougher to bottom out
- “-” harsher over smaller bumps
- “-” less traction, less sagging, high riding height
Addition of Volume Spacers
- “+” stronger end stroke
- “+” tougher to bottom out
- “-” tougher on mid to high hits
- “-” adds support only at the travel’s end
More Compression For Low-Speed
- “+” predictable and stable feel, slower to dive
- “+” more push for cornering and jumps
- “+” muted feel with more energy going into the damper
- “+” suspension remains high even on big hits
- “-” low sensitivity on smaller bumps
- “-” low traction
- “-” more hand pain
More Compression For High-Speed
- “+” less travel on big hits
- “+” tougher to bottom out
- “+” suspension stay high in the travel
- “-” spikey feel on big hits
More Rebound Damping For Low-Speed
- “+” extra predictable and calmer feel
- “+” additional settled rear suspension
- “+” less chance of bouncing upon landing
- “-” traction and sensitivity can be low
- “-” suspension packs down
More Rebound Damping For High-Speed
- “+” safer feel
- “+” stronger for better sensitivity over small bumps
- “-” slow to recover
- “-” calmer on steep downhill rides
Final Word
To adjust the mountain bike suspension on your bike can make a huge difference. Most of the modern suspension units can operate very well if you adjust them adequately. However, there are several settings and minor details you have to deal with and the entire process requires a lot of attention.
Finding the right setting can be a minefield and you have to go with a trial-and-error approach to make things turn out to be perfect.
These settings heavily depend upon your right style and the trails you prefer. They also rely on your overall body weight. You can handle your bike well and it will grip the ground and provide you with a comfortable ride every time.
Below is a Pinterest friendly photo… so you can pin it to your Mountain Bike Board!

Related Articles
What Are Mountain Bike Rock Gardens?
Oli L • September 5, 2022
So you're getting into mountain biking and not sure what mountain bike rock gardens are. Riding rock gardens on a mountain bike is a skill to learn when you first start riding. You might have thought that most trails will be smooth and easy to navigate through but remember that each trail is different. Preparing for these obstacles will help you become a better mountain biker. Rock gardens can come...
The Full Suspension Vs. Hardtail Debate Continues
Oli L • August 28, 2022
The full suspension vs. hardtail debate continues as we look at the pros and cons of each type of bike. Both full suspension and hardtail mountain bikes are great options if you want to start mountain biking. But what do you really need to know about each type before buying one? Mountain biking has exploded in popularity in recent years. The sport involves riding through singletracks mostly in beautiful mother...
6 Mountain Bike Maintenance Tips For Beginners
Oli L • August 8, 2022
There are many different types of mountain bikes out there. But, they all have one thing in common – ongoing maintenance. Mountain bike maintenance can be tricky if you don’t know what you’re doing, you could end up damaging your bike or even yourself. Mountain bikes require proper maintenance to keep everything running smoothly. In this article, we'll show you what to do when things go wrong as a beginner...
8 Steps To Becoming A Better Mountain Biker
Oli L • June 13, 2022
Mountain biking is an activity that requires skill, strength, endurance, and balance. It’s also a great way to stay fit and enjoy the outdoors. But before you hit the trails, there are a few things you need to know to become a better mountain biker. The activity requires both strength and skill. It’s also a sport that has become increasingly popular in recent years. To improve your riding skills, you...
5 Mountain Bike Racing Tips for Beginners
Oli L • June 10, 2022
Mountain bikes are becoming increasingly popular in recent years. They offer an exciting way to explore the outdoors. It also offers many physical and mental health benefits on top of the friendly competition that many enjoy. We're going to go over 5 mountain bike racing tips for beginners to help you get going. MTB racing is an exciting sport that combines speed, agility, and strength in a way that few...
Latest Articles
Popular Articles
Product Of The Week
Monday 13th July