How To Remove Pedals From A Bike?
/ Beginners • Tips / How To Remove Pedals From A Bike?

Installing and removing those bike pedals might not seem like much of a big deal. But if you haven’t done it before, you might end up making a mistake and have a tuck pedal. Of course, it would also mean you have ruined your crank arm. Before you ruin your new pair, here is everything you need to know about how to remove pedals from a bike.
In this article, we will guide you on how to remove pedals from a bike in a step-by-step procedure so you can do it without any flaw.
If you’re in a hurry to remove pedals from a bike…
Are you in a hurry? Just go through the process quickly by going through this briefly. You will be back on your bike in no time.
- Take a hex key or a pedal wrench. Start unscrewing your pedals right from their crank arms.
- You need to keep in mind your right pedal will only loosen if you turn anti-clockwise. And your left pedal will only loosen if you turn it clockwise.
- You can apply some bike grease to your new pedals. Try to screw them in, but make sure you maintain a 90-degree angle.
- The right pedal will tighten if you turn clockwise. Similarly, the left pedal will only tighten if you turn anti-clockwise.
- Keep screwing in until each of these pedals is fully inserted and are properly tight. It’s time to ride!
Those Pedals Don’t Screw Right
It’s the most important point you need to keep in mind before you touch anything. Or you can say one of them doesn’t screw right. The pedal on the right-side screws just like anything else. However, the pedal on your left side features a left-handed thread.
Therefore, you will only be able to unscrew it if you turn in the opposite direction you normally do. In other words, you will have to turn it clockwise if you want to loosen it. And of course, turn it anti-clockwise if you are looking to tighten it.
Why Go With Wrong Screwing?
You might be thinking why the crank and pedal manufacturers had to go with this wrong screwing for one of those pedals? There is a reason for the left-handed threading or wrong screwing and that is to take care of precession, which is a mechanical phenomenon.
The downward force from your foot on that spindle when you are pedaling can cause the axle to spin in the opposite direction from the crank arm. In case the left pedal had those regular threads, the force caused by pedaling would make the pedal to loosen and fall off during your ride.
Therefore, threading the spindles in this way pulls them back into the crank when you continue to pedal. They firmly stay in their place and don’t need any extra bolts.
Keep in Mind the Right & Left
You might be thinking how to remove pedals from a bike shouldn’t be an issue, as there would be some kind of stamps of labels present on the crank arms. But that is not the case, because you will only have to judge by the way where the thread leans.
You can cause serious damage if you try to insert and tighten the wrong pedal into the crank thread that is not made to receive it. And if you insert it at an angle, it will be an even bigger issue.
Powering through this process just to make the thread coarse or tight will cross-thread the spindle of your crank arm and ruin it. It will result in a costly mix-up and to avoid that, most of the bike pedal manufacturers now stamp or label their spindles with “L” and “R”. This way you can easily tell them apart.
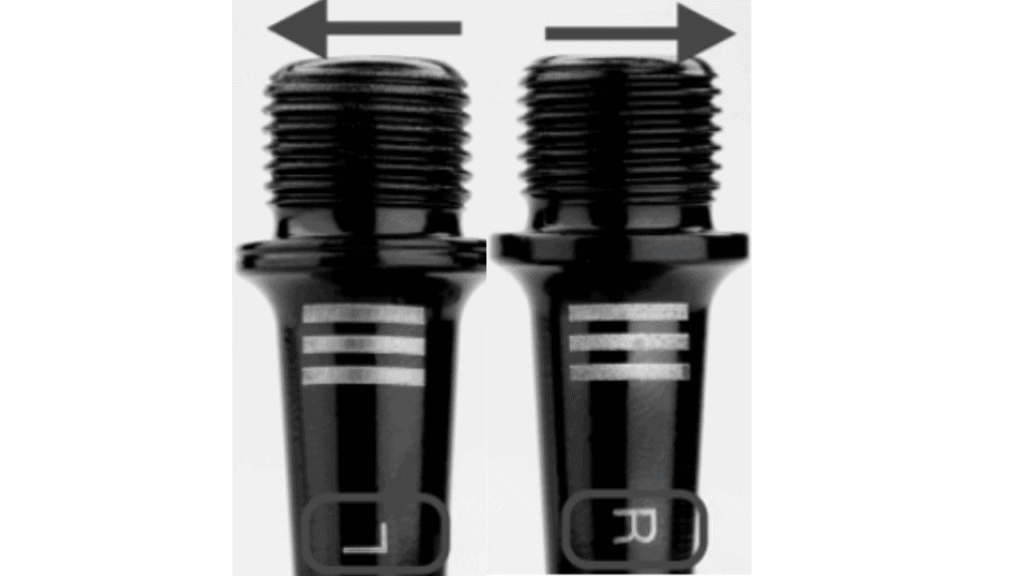
But these labels or stamps can easily fade away or wear off over time. There is an easy way to make them apart from one another. Hold both the pedals in your hand side by side with the spindles up.
Now, have a look at the angle of the threads. The right-side pedal will have its threads angled towards the right side, upwards. The left side pedal will have its threads directed to the left side upwards. As you can see in the figures given below.
The Much Needed Tools
Most of the maintenance jobs can be effectively completed when you have the right kind of tools in your hand. And similar is the case with the pedal swap. The types of modern pedals can be screwed right into the crank arm with the help of either of the two tools.
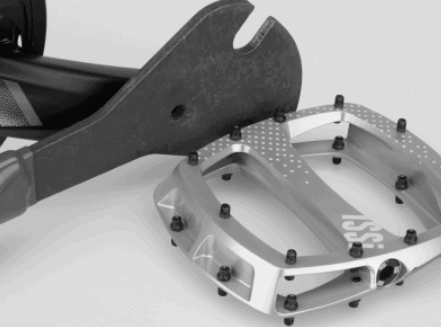
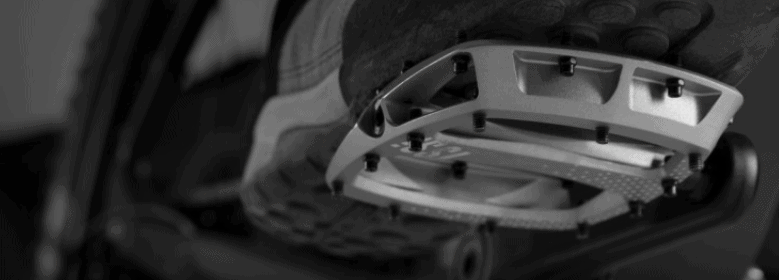
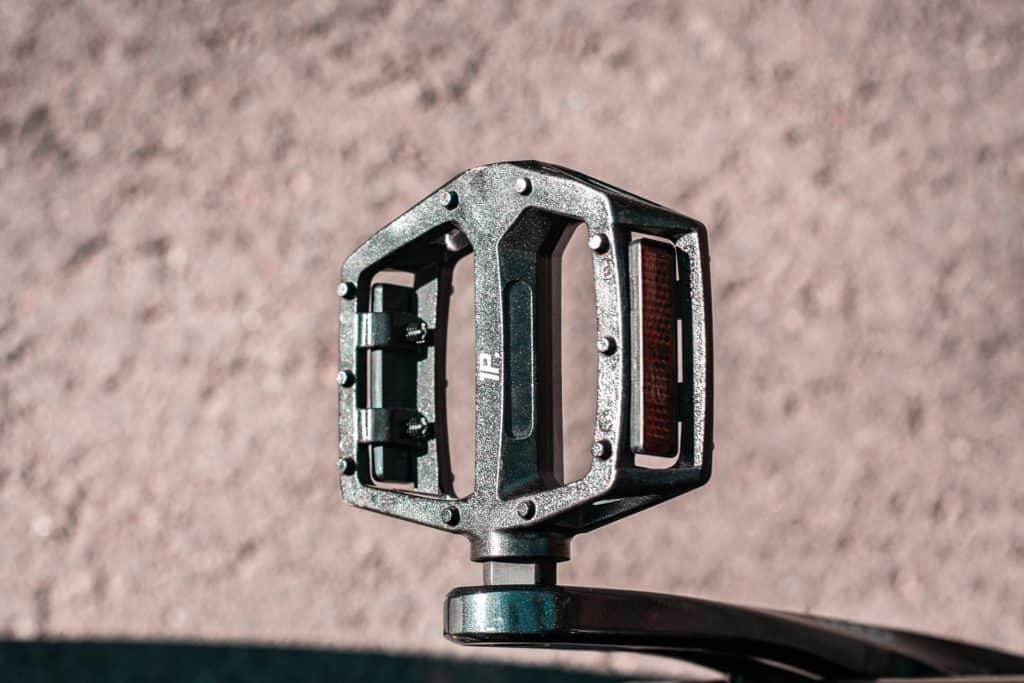
Most pedals like the RaceFace flat pedal can be screwed in using a pedal wrench. It is a long and thin tool specially made of a flat external spindle that is between the crank leg and the pedal.
You might have a regular wrench that can do this job effectively. A pedal wrench is not an expensive tool and it will also save you from having those bloody knuckles.
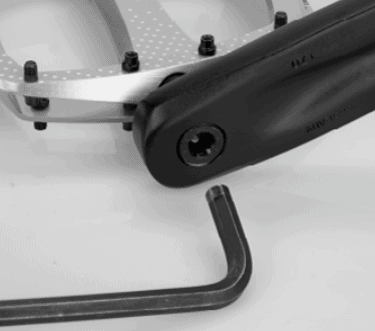
Therefore, having a pedal wrench will make your job a lot easier. If you are upgrading to premium quality trail pedals, you will just need an appropriately sized hex key. That will fit the spindle from the crank leg’s underside.
Having a fully adjustable torque wrench is a recommended choice as well along with some bike grease. It will make sure your pedals remain tight according to the specifications set by the manufacturer and can be removed easily.
The Step-by-Step Guide
After understanding the whole WHY behind the things, now let’s get to the part where you get to learn how to remove pedals from a bike.
How to Remove Pedals from A Bike
- Make sure to rotate the crank arm for better leverage and easy access before you start taking pedals off a bicycle.
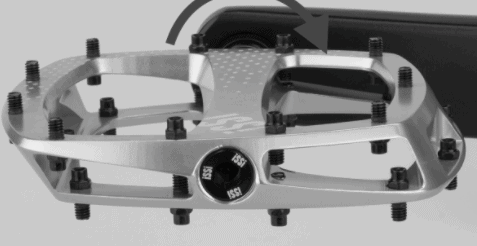
- Now, place your hex wrench right into the port or your pedal wrench on the spindle flats of your bike’s crank arm.
- Try to push hard and loosen that spindle. And keep in mind that you will have to push clockwise for the left side pedal and push anticlockwise for the right-side pedal.
- Now, carry on rotating the spindle until you see the pedal is coming off and is free.
- Repeat all the steps of the opposite side to loosen the other pedal as well.
How To Put Bike Pedals On
- As we have explained earlier, you will first have to look at the labels printed on the spindles of the paddle.
- If they are not marked, you need to have a look at the pedal threads, explained and elaborated above.
- The thread that is going left upwards will go on the left side while the thread that goes right upwards will go on the right side.
- Place each spindle on the correct side of your bike.
- You can also apply some bike grease to your spindle threads.
- Make sure to insert the bike pedal right into the crank arm. Keep it straight at a 90-degree angle. They will thread into place easily and chances of any damage will be significantly minimized.
- You can place your hex wrench right into the ports inside the crank arm or pedal wrench right on those spindle flats.
- After feeling the resistance, tighten your pedal according to the torque specified by the manufacturer. You can also go for about ⅛ of the further rotation to secure it properly.
You are all done and ready to ride. Just make sure to inspect your pedals now and confirm they are securely in their place.
In case, you are not 100% sure about how your pedals feel, you can ask for assistance and head to your local bike shop, and have a mechanic double-check them. When you are done with that it is time to enjoy your ride.
3 Tips on How to Remove Pedals from a Bike
1) Lubricate the Crank Threads Frequently
If you haven’t removed your pedals in recent times, you will have to spray them a little with that penetrating fluid. You can use a Muc Off Spray, Finish Line, or WD-40 for this purpose.
If after a few turns you have gotten a few of the threads exposed. You need to spray some more fluid and continue to turn the screw and expose the threads until they are completely free. Corroded or dry threads can become damaged over time. And you can even do more damage if you don’t use any lubrication oil or spray.
2) Put your Chain on the Big Ring
Before you start removing your pedals, make sure you protect yourself from any potential injuries. Place your chain on the big ring, it will allow you to turn the wrench comfortably.
3) The Spindle of your left Pedal Spindle has Opposite Threads
Keep in mind your left pedal spindle has reverse threading on it. You can go by turning it clockwise and removing the pedal when the crank arm is in front of you. The crank arm on the right-hand side is the regular stuff.
So, you will have to turn it anti-clockwise to get it loose. If you are using an Allen key to lose your pedals, you will have to insert the key into the pedal axle.
Final Thoughts
How to remove pedals from a bike is not an uphill task. But you need to know which pedal needs to go in which crank arm or you will end up causing costly damage. Make sure to have a look at the labels on the spindles. And if the labels are gone, you need to have a look at the direction of the threads on the spindle. This way you won’t get these pedals wrong.
Below is a Pinterest friendly photo… so you can pin it to your Mountain Bike Board!

Related Articles
What Are Mountain Bike Rock Gardens?
Oli L • September 5, 2022
So you're getting into mountain biking and not sure what mountain bike rock gardens are. Riding rock gardens on a mountain bike is a skill to learn when you first start riding. You might have thought that most trails will be smooth and easy to navigate through but remember that each trail is different. Preparing for these obstacles will help you become a better mountain biker. Rock gardens can come...
The Full Suspension Vs. Hardtail Debate Continues
Oli L • August 28, 2022
The full suspension vs. hardtail debate continues as we look at the pros and cons of each type of bike. Both full suspension and hardtail mountain bikes are great options if you want to start mountain biking. But what do you really need to know about each type before buying one? Mountain biking has exploded in popularity in recent years. The sport involves riding through singletracks mostly in beautiful mother...
6 Mountain Bike Maintenance Tips For Beginners
Oli L • August 8, 2022
There are many different types of mountain bikes out there. But, they all have one thing in common – ongoing maintenance. Mountain bike maintenance can be tricky if you don’t know what you’re doing, you could end up damaging your bike or even yourself. Mountain bikes require proper maintenance to keep everything running smoothly. In this article, we'll show you what to do when things go wrong as a beginner...
8 Steps To Becoming A Better Mountain Biker
Oli L • June 13, 2022
Mountain biking is an activity that requires skill, strength, endurance, and balance. It’s also a great way to stay fit and enjoy the outdoors. But before you hit the trails, there are a few things you need to know to become a better mountain biker. The activity requires both strength and skill. It’s also a sport that has become increasingly popular in recent years. To improve your riding skills, you...
5 Mountain Bike Racing Tips for Beginners
Oli L • June 10, 2022
Mountain bikes are becoming increasingly popular in recent years. They offer an exciting way to explore the outdoors. It also offers many physical and mental health benefits on top of the friendly competition that many enjoy. We're going to go over 5 mountain bike racing tips for beginners to help you get going. MTB racing is an exciting sport that combines speed, agility, and strength in a way that few...
Latest Articles
Popular Articles
Product Of The Week
Monday 13th July